Okay, now time to get down to actually building the thing.
1. Prepare The Shoe Box: Draw Circles For Buttons & Controller
First, we drew circles for where we wanted to place the buttons and controller on the show box, like pictured below and then cut those slots out with a razor blade.

2. Place The Buttons & Controller On The Shoe Box
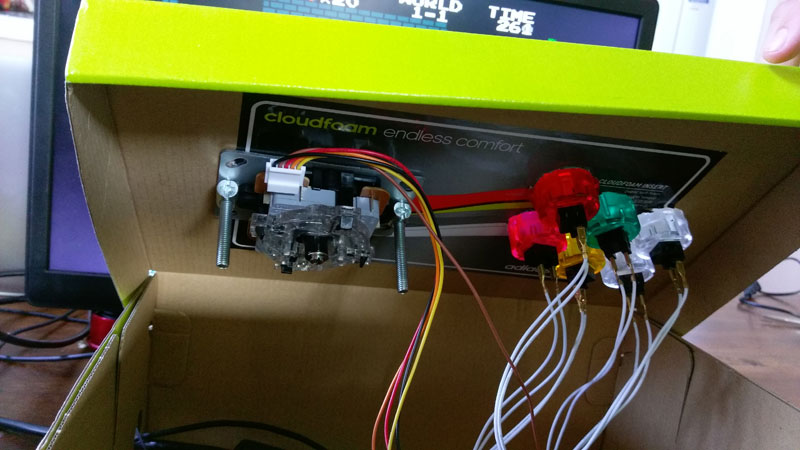
Next, we labelled each button circle with what button should go where, and pushed the buttons through to make sure they fit snug. We also pushed the controller through and screwed it on. Later during the soldering & configuration phase, we unscrewed the controller and easily popped out the buttons. We wanted to make sure everything fit secure before we moved on.

3. Soldering Joystick & Bonnet
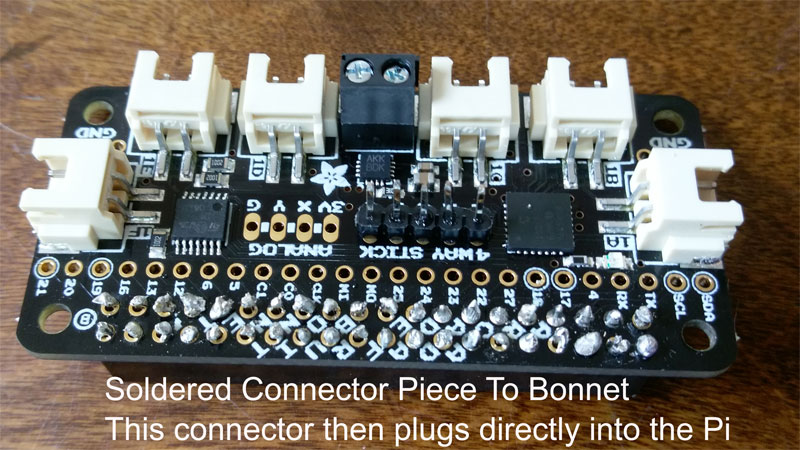
When we purchased the Arcade Bonnet Mini Kit, we were hoping we could get away from soldering, but no such luck. We ended up having to solder the Joystick wires and the connector piece to the bonnet like pictured below.
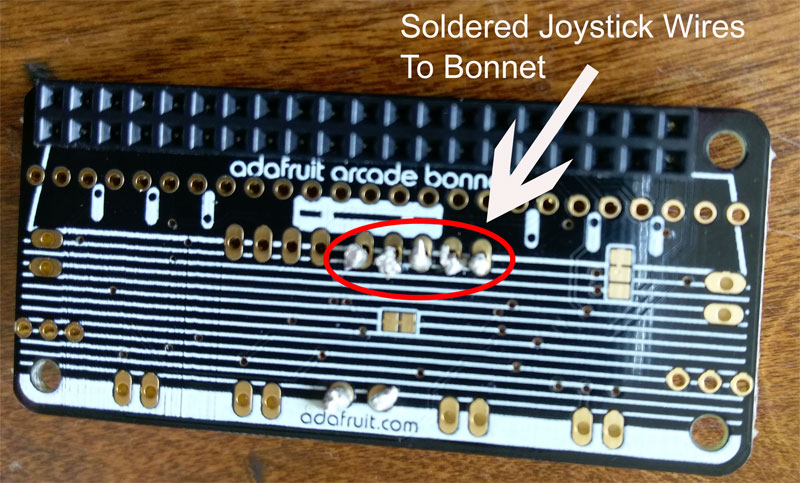
This was our first time soldering, and it was a challenge to say the least. As you can see from our pictures, our soldering job was not the cleanest. Practice makes perfect so hopefully next time it will be a little easier.
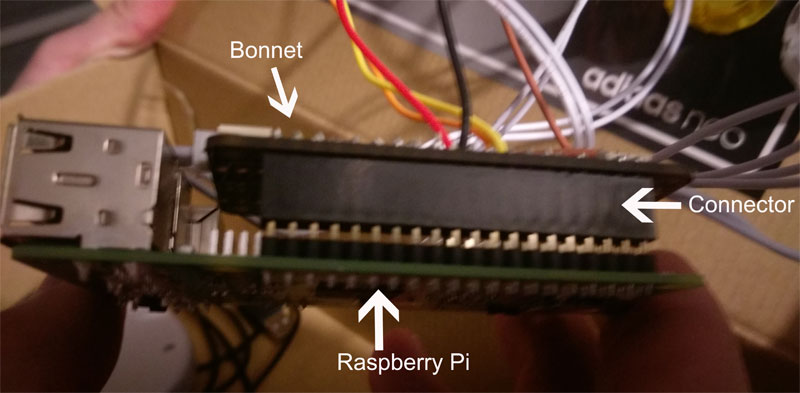
The picture below illustrates how the bonnet with the soldered connector piece (came with bonnet) plugs to the Pi.
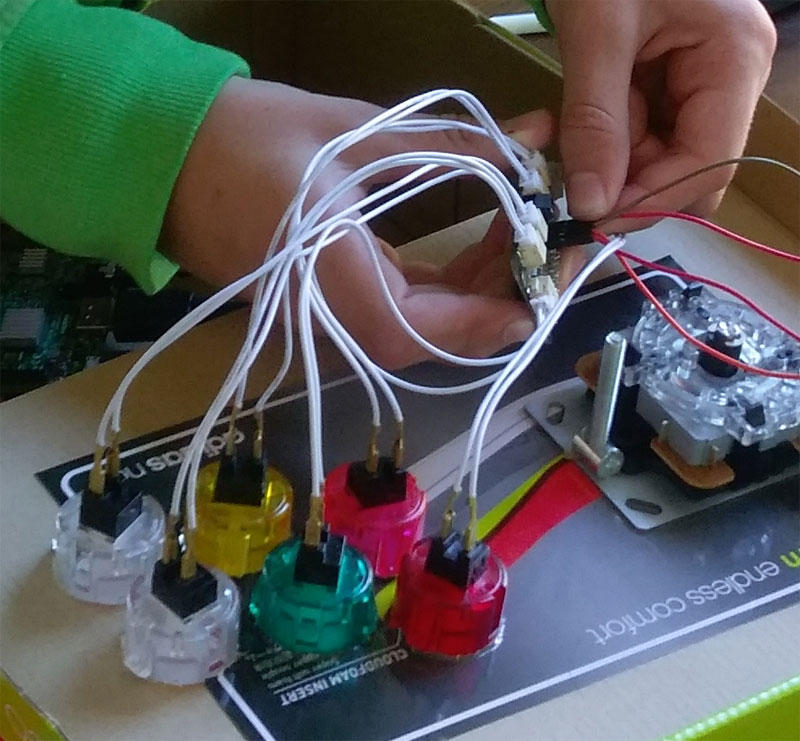
4. Connecting Buttons To The Bonnet
This is where the bonnet made things much easier. The pieces where the buttons plug into were already soldered into the bonnet. It was as easy as simply plugging the button clips into those slots.
5. Install RetroPi On Your Raspberry Pi
Connect your keyboard to the Pi because you will need it for the OS installation and configurations. Download & install the free RetroPi operating system on your Raspberry Pi. I won’t detail how to install the OS here being that the RetroPi site itself has detailed installation instructions.
6. Configure The Buttons & Controller
Configuring the controller and buttons took some trial and error, but the RetroPi software makes it somewhat easy. View configuration instructions from here. After you configure each, you will want to test them out on an actual RetroPi game to make sure they work. We tested ours on Mario Brothers.
After your buttons and controllers are installed and working, you can now connect the buttons and controller back into your box and start playing.
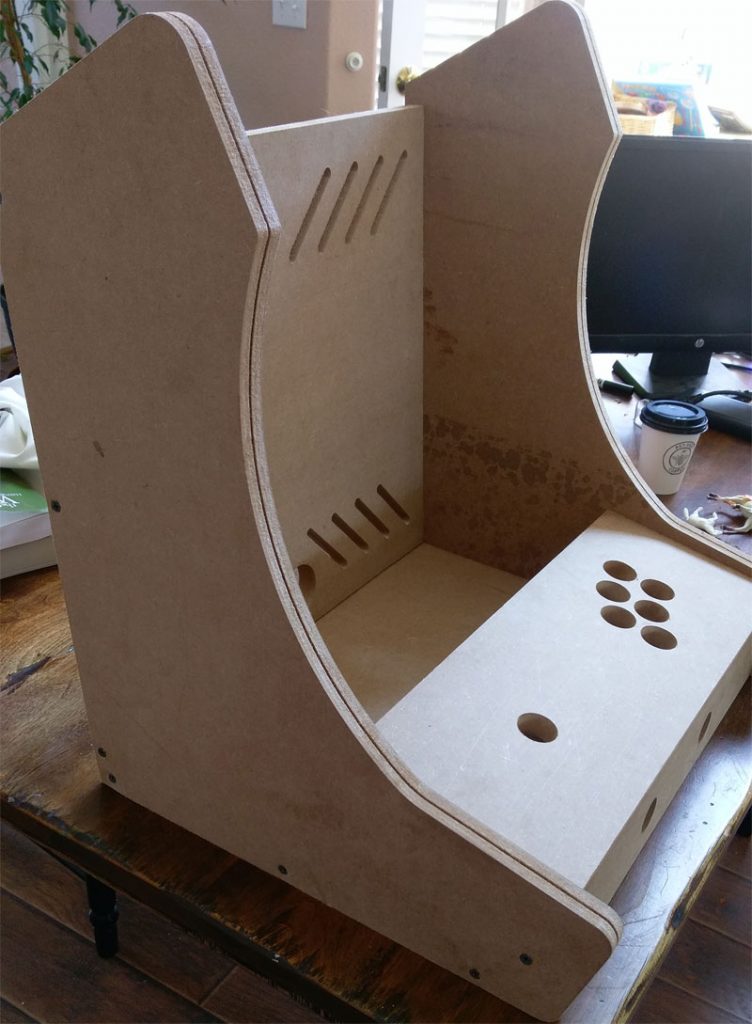
Following is a sneak peek of the official table top arcade system we are working on. We will post another tutorial that details how we built this after it is complete.
Following is a list of things you will need if you want to build one yourself. We ordered most of our products from Adafruit & Amazon but some of these things you may be able to find elsewhere.
Parts We Used For The Shoe Box Retro Arcade
- Raspberry Pi 3
- Small Arcade Joystick
- Arcade Bonnet Mini Kit
- Speaker
- Arcade Buttons
- Arcade Buttons Quick Connect Wire
- Soldering Iron
- Flat Screen Monitor
- Keyboard
- Shoe Box, of course
After the fact, we found this DIY Arcade Game Button and Joystick Controller Kit on Amazon which has a lot of above, but for cheaper. We haven’t tried this kit yet, so I can’t personally recommend it at this time, but we will most likely try this for our next arcade.